How to Make a Dinosaur Habitat
Our son Cohen turned 4. His current obsession…DINOSAURS. He loves everything about them. His cousins are at our house most of the week while my sister works and they play dinosaurs nonstop. We’ve had a mild November and December here in South Dakota and have been spoiled. They’ve continued to play outside without any snow on the ground.
But I know the snow will start to fly and cold temps will come at some point. And then playing outside will not be as easy. So I decided to make a dinosaur habitat for his room. I had a vision in my mind but wasn’t exactly sure how to make it. But, you never know until you try. So I gathered all the materials I thought I would need and with a little help from Zach to build the base, I fired up the glue gun and away I went.
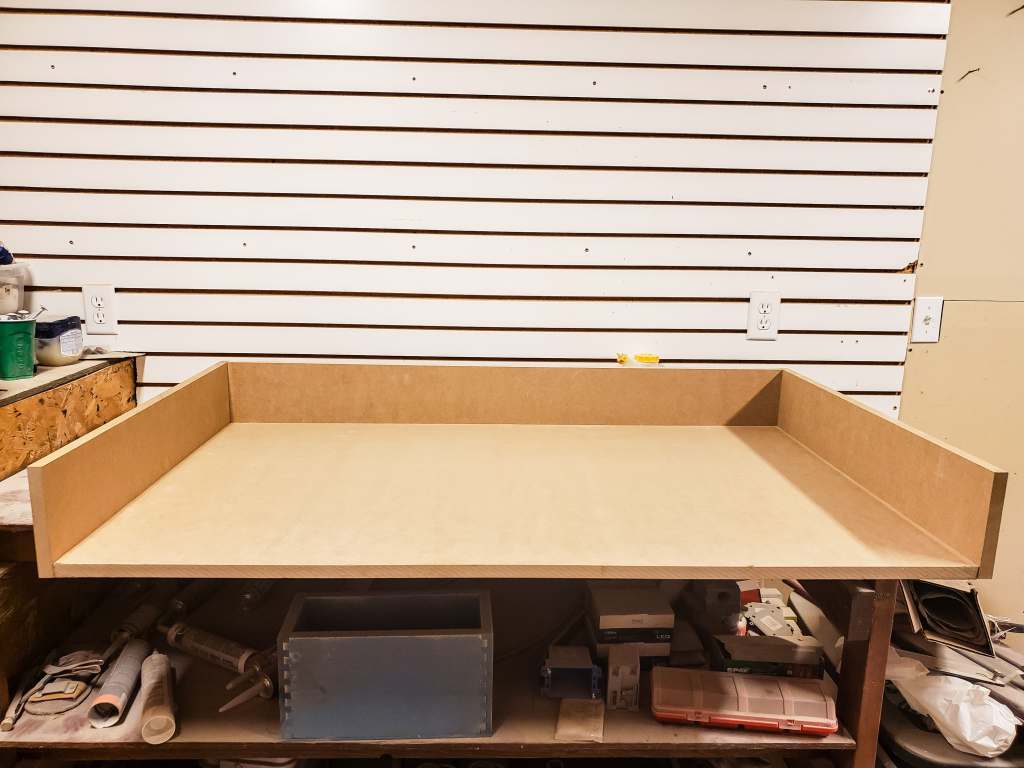
The base is built out of MDF board. I measured the doorways to make sure we could get it from the garage to his room and also the space available in his room. Zach built the base and added sides. When looking at images of similar projects the sides were always much higher. But I didn’t think I needed that. I just needed something to glue the greenery to.
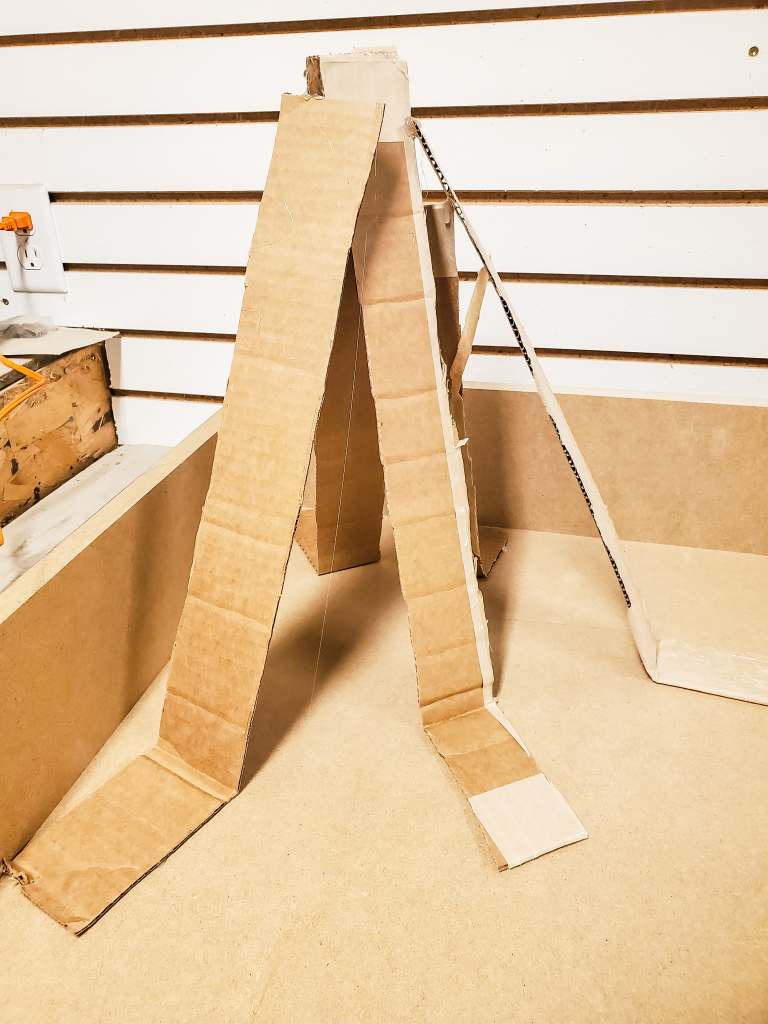
Next was the volcano. Cohen has been asking for a volcano. I found several plastic ones online I could buy but decided I didn’t want to spend the money and could make my own. Insert Paper Mache. I first cut strips of cardboard and glued them to the base.
* If I ever attempt something like this again I think a small tomato cage would work perfect.
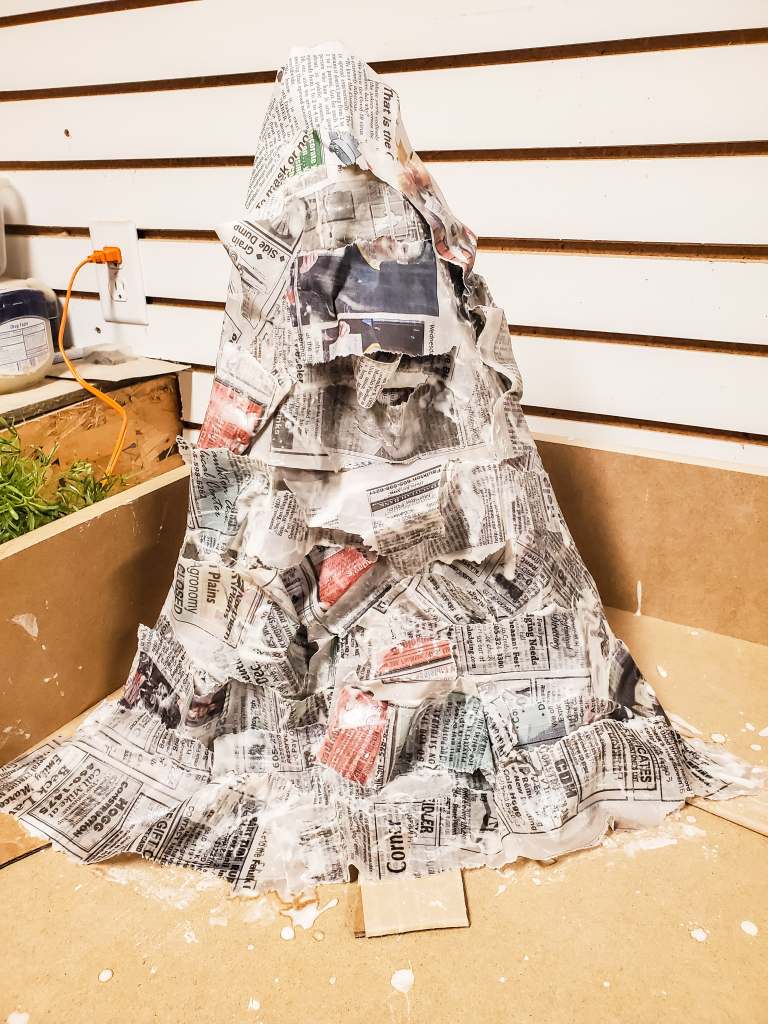
Next I cut a newspaper up into several strips. The paper mache recipe I used was a 2:1 ratio of hot water to flour. I did 1 thin layer and let it dry.

After it dried I did another layer the same as above and let it dry. Then I did a third layer where I created the ridges.
After the third layer had dried I spray painted the whole volcano with a black spray paint.

I was in a hurry to get this done and was not good about continuing to take pictures during the building process. To finish the volcano I used light and dark gray spray paint to add dimension to the volcano. Then I used the hot glue gun to create the lava flowing down from the top. Once the glue dried I used red craft paint and painted the glue.

The materials I used for the rest of the board were:
- Combination of rocks I previously bought to use for décor which I never ended up using and rocks I gathered from outside
- An assortment of greenery pieces from hobby lobby. I used several different textures and colors
- Left over wood pieces from our basement
- Wire cutters
- LOTS hot glue gun sticks
- Some fun birds from Hobby Lobby
- Other random accessories I got at Hobby Lobby or ones that came with a tub of dinosaurs I bought
- Thick brown cardstock (I would have used brown felt if they had any)
- Green and blue felt sheets with a sticky back
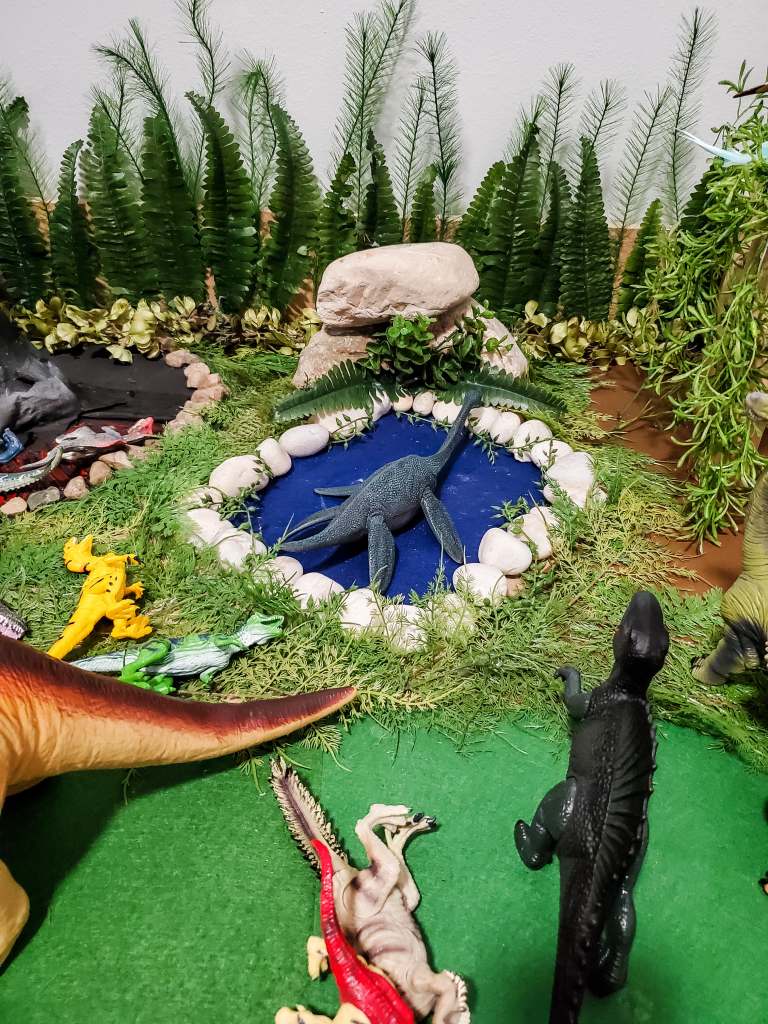
I decided where I wanted the little lake to go and laid that down first. I glued the rocks around it. Then I glued down the brown cardstock and wood spools. Then I laid down the green felt. To finish it off I cut the greenery pieces apart into small pieces and glued them all around the edges, on the wood spools, between the cardstock, felt pieces, rocks, basically any empty space. Then I added all the little accessories.

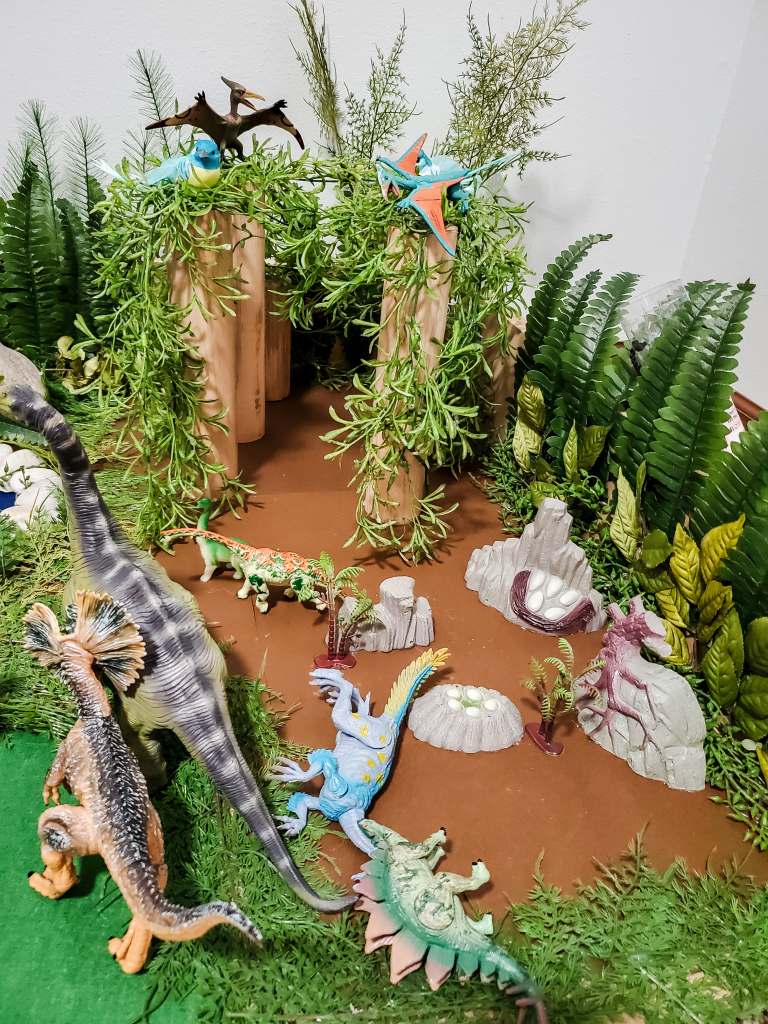

I love how it turned out. I know there’s a chance it won’t stay in this great of condition forever. Let’s face it…little boys can be a little rough on the things they play with. But I hope it lasts for a long time and is something all the kids can enjoy for years to come!